

Quick Answer: Yes, microcement can usually be applied over existing tiles if the surface underneath is stable, dry, clean, and firmly bonded. However, if the tiles are loose, cracked, damp, or affected by failed waterproofing, the surface normally needs repairing or removing first.
Many homeowners choose microcement because it creates a seamless modern finish without the disruption of ripping out old tiles. Since the system is only around 2 to 3 mm thick, it can also help avoid the floor height build-up that often comes with retiling.
Whether overlaying tiles is the right option depends on the condition of the substrate underneath, how much movement or moisture the room experiences, and whether the existing tiles are still structurally sound.
Key Takeaways
- Microcement over tiles works well when the surface is stable, clean, dry, and properly prepared.
- Loose tiles, movement, damp, or failed waterproofing usually mean the tiles need removing first.
- The system is typically only 2 to 3 mm thick, helping avoid the height build-up that comes with retiling.
- Bathrooms, showers, and wet rooms require strict waterproofing checks and anti-slip specifications before installation.
- Long-term performance depends heavily on preparation quality, sealing, and installer experience.
What Is Microcement?
Microcement is a thin decorative coating used to create seamless walls, floors, bathrooms, kitchens, and wet rooms. Unlike traditional tiles, it is applied in multiple thin layers to produce a continuous finish without grout lines.
A standard microcement system usually includes:
- Primer
- Reinforcement mesh
- Base coats
- Decorative finish coats
- Protective sealers
Most systems are only around 2 to 3 mm thick in total.
Because the coating is so thin, microcement is often used in renovations where homeowners want to modernise a space without significantly raising floor levels or removing existing finishes.
Microcement can usually be applied over:
- Existing tiles
- Concrete
- Cement screeds
- Plaster
- Plasterboard
- Cement boards
However, the quality of the substrate underneath is critical. Microcement follows the condition of the surface beneath it, which means movement, cracks, or moisture problems can eventually affect the finish above.
Can Microcement Be Applied Over Existing Tiles?
In many cases, yes. Microcement can often be applied over existing tiles, but the success of the installation depends heavily on the condition of the surface underneath. The type of room, moisture exposure, and overall stability of the tiles all affect how well the coating bonds and performs over time.
Wall Tiles
Wall tiles are usually suitable for microcement when they are clean, stable, and firmly bonded to the wall. Before any work begins, the surface should be inspected carefully to identify problems that could affect adhesion later on, including:
- Hollow areas behind tiles
- Loose or unstable tiles
- Weak sections within the substrate
- Old sealants or surface contamination
Any damaged or unstable tiles should be repaired or replaced before the coating system is installed. Kitchen and bathroom walls also need thorough cleaning, as grease, soap residue, and old sealants can prevent primers and base coats from bonding properly.
Floor Tiles
Floor tiles require more detailed preparation because floors are exposed to constant foot traffic, structural movement, and higher levels of stress. Existing issues should always be identified before installation begins, such as:
- Visible cracks in the tiled surface
- Lifted or loose tiles
- Movement within the subfloor
- Uneven or flexing substrates
Height build-up should also be considered, particularly around door thresholds and transitions into adjoining rooms. Although microcement is much thinner than traditional retiling, the additional layer still needs to be measured carefully.
Slip resistance is another important factor, especially in:
- Kitchens
- Bathrooms
- Utility rooms
- Wet areas with regular water exposure
Bathroom Tiles
Bathrooms are one of the most common areas where microcement is applied over tiles because it creates a smooth, seamless finish with fewer grout lines. However, moisture control is essential before installation starts.
Surfaces should always be checked for:
- Cracked grout lines
- Failed sealants
- Damp or trapped moisture
- Damaged or unstable tiles
These issues can allow water to sit behind the surface, which may eventually cause peeling, staining, or poor adhesion. Existing waterproofing problems should always be resolved before applying microcement over bathroom tiles.
Kitchen Tiles
Kitchen walls and floors can also work well with microcement when the surface has been prepared correctly. Grease, cooking residue, and cleaning chemicals are common issues in kitchens, so preparation usually includes:
- Deep cleaning and degreasing
- Removing contaminants from grout lines
- Checking tile stability
- Ensuring the surface is fully dry before priming
Once installed and properly sealed, microcement can provide good resistance against staining and everyday kitchen use.
Shower Tiles
Shower walls and enclosures demand particularly careful preparation because they are exposed to constant water, steam, and regular cleaning products. Long-term performance depends heavily on:
- Proper waterproofing
- Correct sealing
- Suitable curing times
- Manufacturer-approved installation methods
Correct installation helps reduce the risk of staining, peeling, or moisture-related failures, especially in heavily used shower areas.
Wet Room Tiles
Wet rooms require the strictest level of inspection before any overlay work takes place. Standing water, drainage falls, and slip resistance all need to be considered carefully during preparation and installation.
Important checks before installation include:
- Existing waterproofing integrity
- Tanking membrane condition
- Drainage gradients
- Slip-resistant finish suitability
Even small moisture issues beneath the surface can lead to significant failures later on if they are not resolved properly before coating begins.
When You Should Not Apply Microcement Over Tiles
Although microcement can often be applied over existing tiles, some surfaces are not suitable for an overlay system. In these situations, the tiles usually need to be removed and the substrate repaired before any coating work begins.
Microcement relies on a stable, dry, and well-prepared surface. If the existing tiles or substrate are already failing, the new finish is far more likely to develop problems over time.
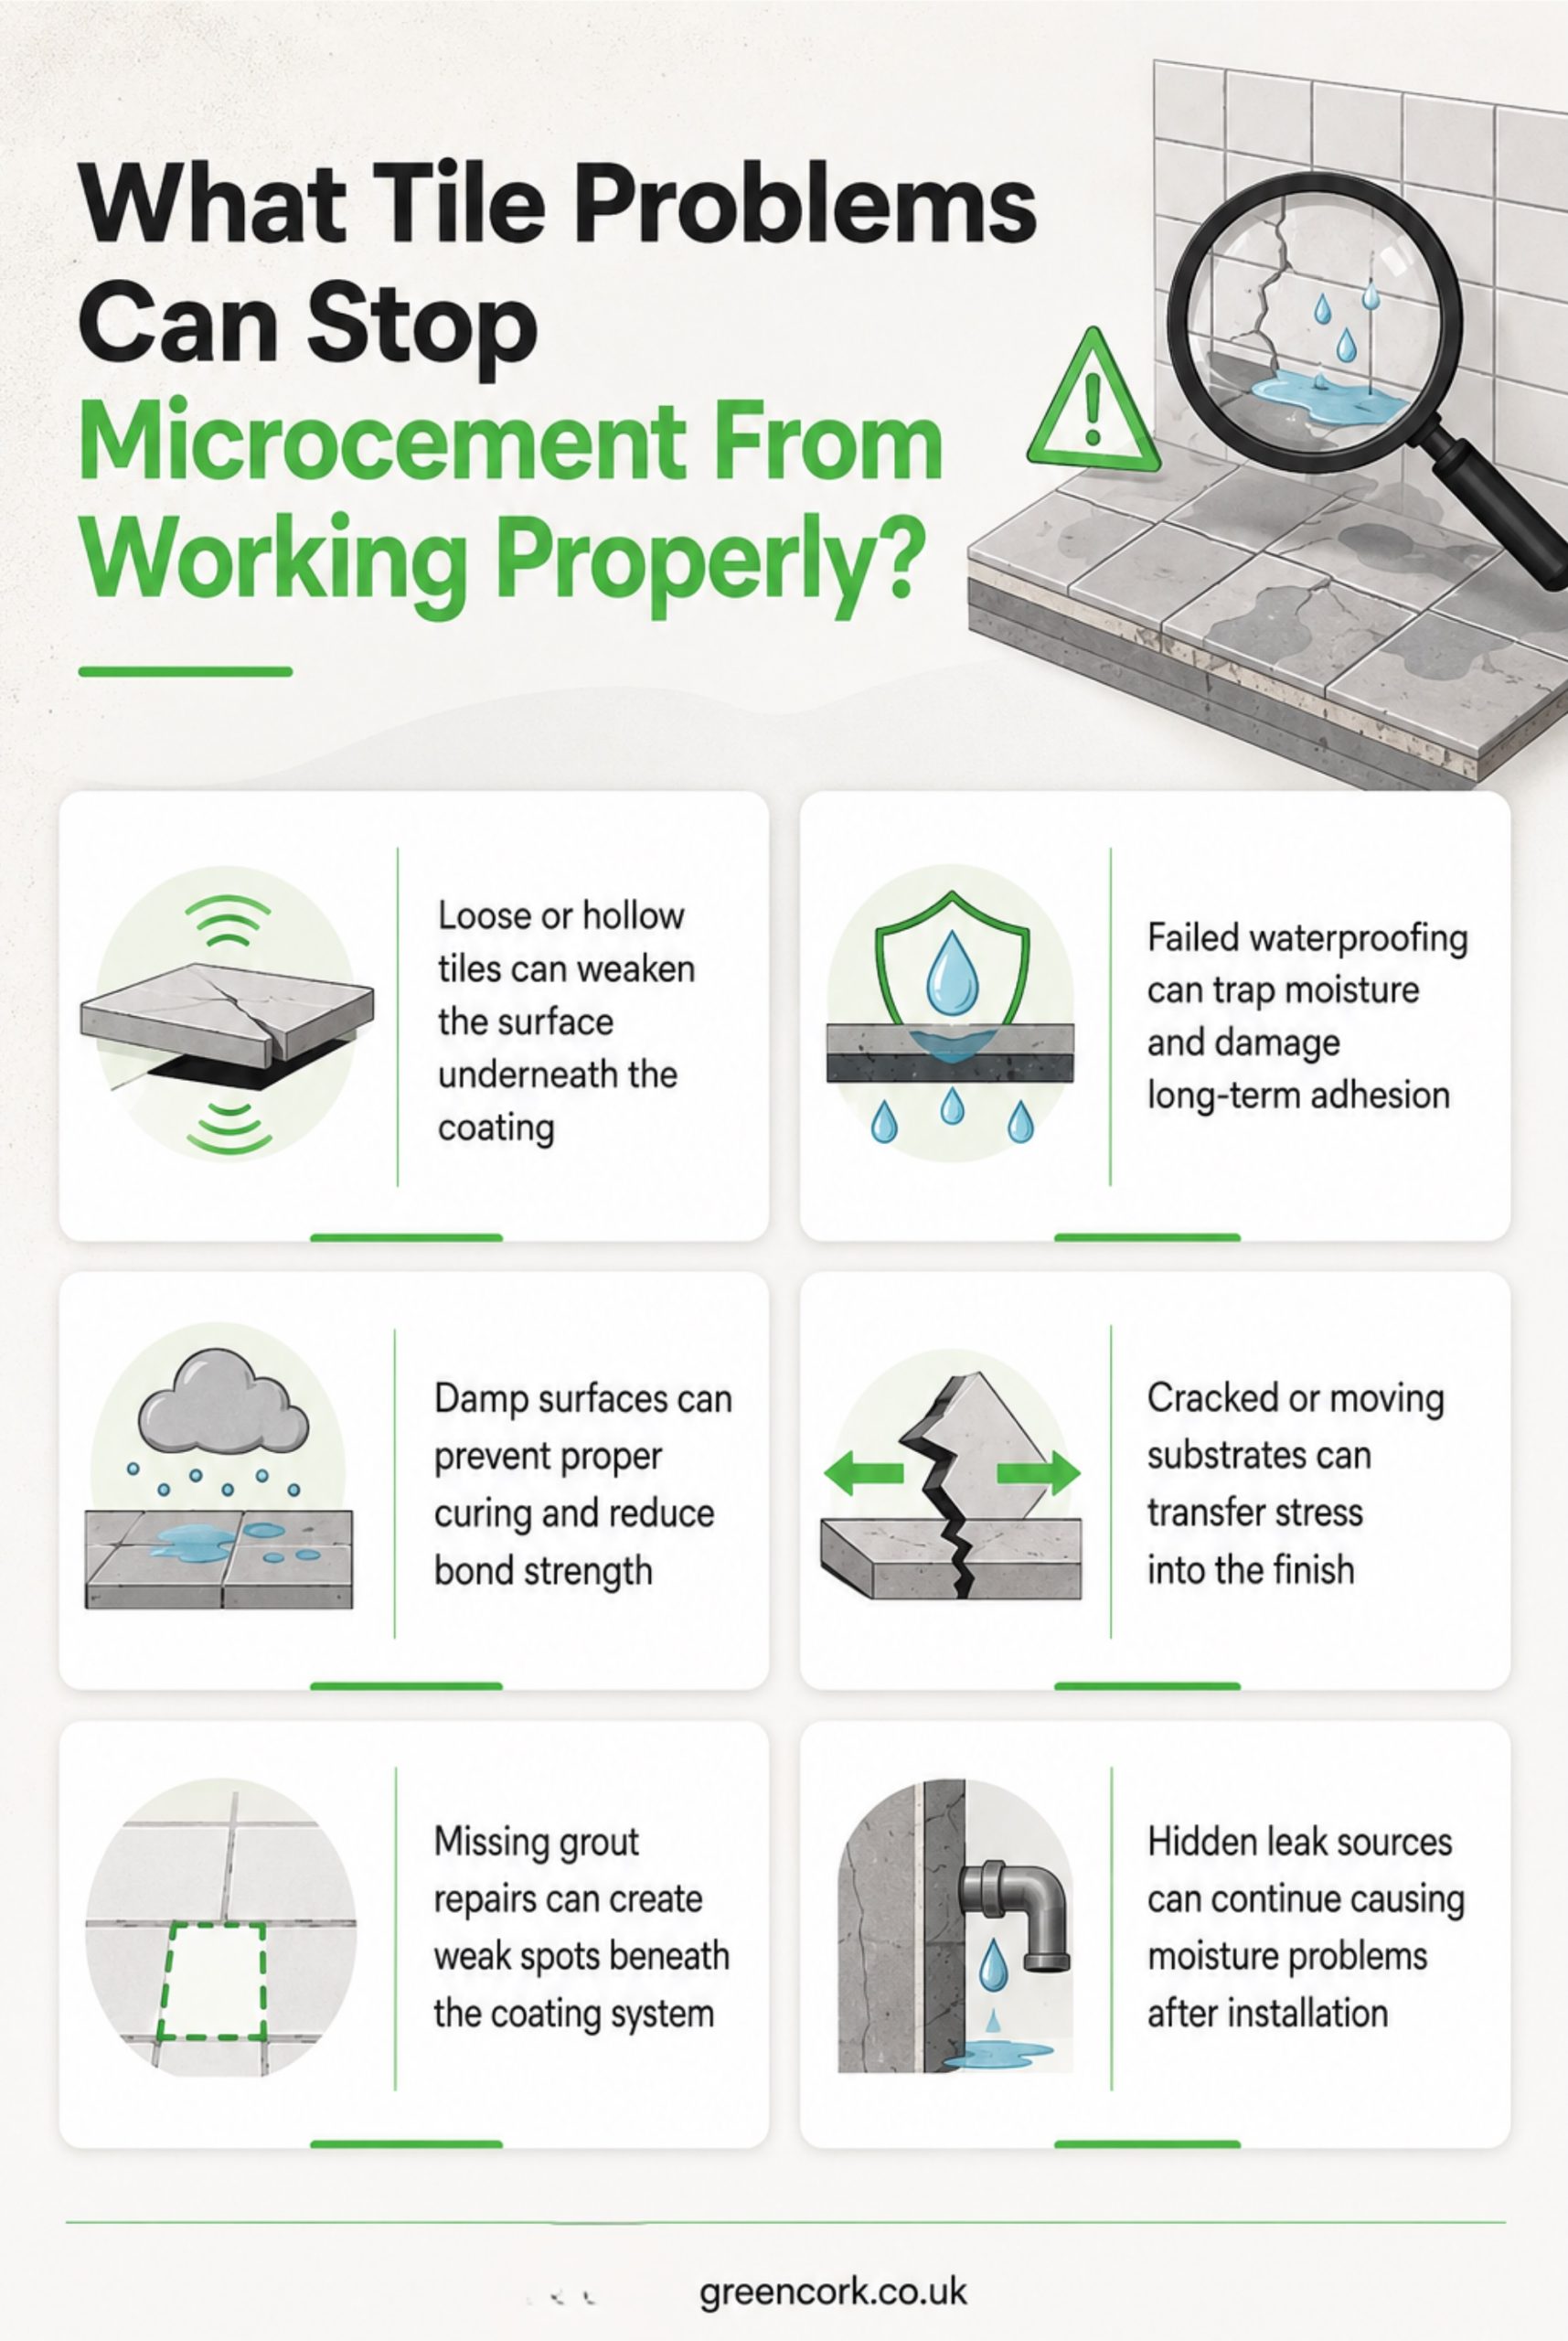
Overlay installation is generally not recommended where there are:
- Loose, hollow, or lifting tiles
- Cracked or unstable substrates
- Damp or trapped moisture behind the surface
- Failed waterproofing systems
- Structural movement or flexing floors
- Severely uneven surfaces
- Water-damaged plasterboard or backer boards
- Heavy grease, sealant, or contamination affecting adhesion
Applying microcement over unstable or moisture-damaged tiles can lead to cracking, peeling, debonding, or staining as the underlying surface continues to move or deteriorate.
Bathrooms, showers, and wet rooms should be inspected particularly carefully, as hidden moisture problems behind tiled surfaces are a common cause of coating failure. Existing waterproofing defects should always be repaired before installation begins.
Where there are clear signs of movement, damp, or substrate failure, removing the existing tiles is usually the safer long-term solution before installing a microcement system.
How Microcement Is Applied Over Tiles
Applying microcement over tiles is a multi-stage process where each layer supports the next. Proper preparation and correct installation are essential because the durability of the finish depends heavily on the condition of the substrate underneath.
Rushing stages, applying layers too thickly, or skipping preparation steps can increase the risk of cracking, poor adhesion, or moisture-related problems later on.
Step 1: Surface Preparation
Before any coating is applied, the tiled surface should be stable, clean, grease-free, and fully dry. Existing tiles should always be checked for hollow areas, loose sections, cracks, and signs of trapped moisture, as defects beneath the surface can affect long-term performance.
Preparation typically includes:
- Thorough degreasing in kitchens and bathrooms
- Light abrasion of glossy tiles to improve adhesion
- Repairing loose grout and damaged areas
- Removing contaminants such as soap residue or old sealants
Correct preparation helps create a stable surface for the coating system to bond to.
Step 2: Primer Application
A specialist primer is applied to improve adhesion between the tiled surface and the microcement system. The type of primer used depends on the substrate, room conditions, and whether the area is exposed to regular moisture.
The primer should be allowed to cure correctly before further layers are applied. Using the wrong primer, or applying coatings before the primer has cured properly, can affect adhesion and long-term durability.
Step 3: Fibreglass Reinforcement Mesh
A fibreglass reinforcement mesh is usually embedded within the base coat to help strengthen the system and reduce stress around grout lines and movement-prone areas.
The mesh helps distribute tension more evenly across the surface, particularly where existing tile joints may create weak points beneath the finish. Careful positioning and overlapping of the mesh are important to maintain consistent reinforcement across the installation.
Step 4: Base Coats
Base coats are applied to level out grout lines, build surface strength, and create a smooth foundation for the decorative finish. Multiple thin coats are typically applied instead of one thick layer.
Each coat should be allowed to dry or cure properly before the next layer is installed. Gradual build-up helps improve adhesion between layers and reduces the likelihood of cracking or uneven curing.
Step 5: Finishing Coats
The finishing coats create the final colour, texture, and seamless appearance of the microcement surface. These decorative layers are applied carefully to achieve a consistent finish throughout the space.
The final appearance depends heavily on:
- Consistent application technique
- Accurate mixing ratios
- Uniform trowel application
- Controlled drying conditions
Variations in technique or drying can affect the overall appearance of the finished surface.
Step 6: Sealing
Protective sealers are applied once the finishing coats have cured. Sealing helps improve water resistance, stain resistance, and overall durability, particularly in bathrooms, kitchens, showers, and wet rooms.
Correct sealing is especially important in high-moisture environments, as unsealed or poorly sealed surfaces are more vulnerable to staining, moisture penetration, and premature wear. The sealer also helps protect the decorative finish from daily use and cleaning products.
Why Homeowners Choose Microcement Instead of Retiling
Choosing between microcement and full retiling often comes down to cost, disruption, installation time, and the condition of the existing surface. Both options can work well, but they suit different types of projects.
Microcement is commonly chosen when homeowners want to update the appearance of tiled surfaces without removing the existing tiles. Because it is applied in thin layers directly over a prepared substrate, it usually creates less disruption than a full strip-out and retiling project.
Retiling may still be the better option where the existing tiles are loose, moisture-damaged, or structurally unstable.
| Factor | Microcement Overlay | Full Retiling |
|---|---|---|
| Surface demolition | None (coats over existing) | Full tile removal, substrate repair |
| Height build-up | 2-3mm typical | 10-15mm+ with adhesive and tiles |
| Installation time | 3-5 days typical | 1-2 weeks typical |
| Mess and disruption | Dust from prep, limited breakage | Heavy dust, debris, full strip-out |
| Waste removal | Minimal packaging | Tile disposal, skip hire needed |
| Slip and moisture considerations | Needs anti-slip spec for wet areas | Depends on tile choice and finish |
| Long-term maintenance | Reseal every few years | Regrout periodically, replace cracked tiles |
Why Microcement Creates Less Disruption Than Retiling
Retiling creates more disruption because tiles must be removed, the substrate may need repair, and finished floor level rises. Tiling guidance notes that laying ceramic floor tiles raises the finished floor level and fixtures may need removing. Microcement provides a low-disruption, thin-build renovation finish when the existing tile base remains sound.
UK construction waste continues growing despite efforts to reduce it. Construction and demolition material was involved in 70,000 fly-tipping incidents in England during 2024/25, which represented a 12% increase from the previous year. That waste problem makes overlay options attractive when they avoid unnecessary demolition and disposal.
Renovation work is growing across the UK housing sector. Construction output data for June 2025 showed repair and maintenance rose by 1.2%, with private housing repair and maintenance up 3.7%.
That growth reflects homeowners choosing renovation over moving, which makes retrofit solutions like microcement more relevant.
How Long Does Microcement Last Over Tiles?
Microcement applied over tiles can last for many years when the surface is properly prepared, professionally installed, and correctly maintained. Many systems are expected to last 10 to 20 years or longer, depending on usage, substrate condition, and ongoing care.
Several factors affect long-term durability, including:
- Surface preparation and substrate stability
- Application quality
- Foot traffic and daily wear
- Exposure to moisture and cleaning chemicals
- Ongoing sealing and maintenance
Higher-traffic areas and wet environments, such as kitchens, bathrooms, and showers, usually place greater demand on the protective sealer over time.
To help maintain water resistance and durability, resealing may be recommended periodically depending on wear levels and manufacturer guidance. Many installers recommend resealing high-use areas every few years.
Quick Tip: Using pH-neutral, non-abrasive cleaning products can also help protect the sealer and extend the lifespan of the finish. Harsh chemicals, bleach, acidic cleaners, and abrasive pads may gradually damage the protective surface coating over time.
Why Installer Approval Is Critical for Microcement Projects
Microcement is highly skill-sensitive and not suitable for DIY application. Poor application causes cracking, peeling, and adhesion failure. The system requires specialist knowledge and experience that casual installers lack.
Local conditions in Leeds and West Yorkshire create specific challenges. Older housing stock, mixed substrates, and moisture issues affect how microcement bonds and cures. Properties built before 1919 represent significant portions of Yorkshire housing and often have solid walls, damp problems, and movement issues.
Professional installers help minimise issues through:
- Early checks for moisture and movement
- Correct layer and system application
- Proper timing between stages
- Knowledge of local conditions
- Reliable aftercare
A well-managed process usually leads to better long-term results.
Poor installation leads to expensive repairs while correct one-time installation avoids future costs. Local installers provide on-site surveys, quicker response times, and accountability that distant contractors cannot match.
Our microcement flooring service installs seamless microcement floors across West Yorkshire to manufacturer specification with full preparation and testing before work starts.
Conclusion
Overlay when the tiles are stable and dry. Remove them when there is movement, damp, or failed waterproofing. Proper preparation and skilled installation determine whether microcement succeeds or fails.
Get a free microcement quote for a quick survey and advice on whether your tiled bathroom, kitchen, or floor is suitable for an overlay.
FAQs
Can microcement crack over tiles?
Yes, microcement cracks when tiles underneath are loose, moving, or poorly bonded. It also cracks over flexing substrates or when base coats are applied too thickly. Proper preparation with stable tiles prevents cracking.
Is microcement waterproof over existing tiles?
Not automatically waterproof. Sealing creates water resistance but the coating itself is porous without sealer. Wet areas need specialist waterproof sealers reapplied every 2 to 3 years to maintain protection.
Can microcement be applied over bathroom tiles?
Yes, when tiles are sound, dry, firmly bonded, and show no moisture problems. Failed grout, damp patches, or loose tiles need fixing first before overlay happens.
Do tiles need to be removed before microcement?
Only when tiles are loose, cracked, damp, hollow-sounding, or poorly bonded. Sound tiles that pass tapping tests and moisture checks can stay as the base layer.
Can microcement go over floor tiles?
Yes, when the floor substrate is stable and does not flex or move. Wooden floors, poorly supported screeds, or cracked bases need fixing before microcement gets applied.
Is microcement slippery in bathrooms?
Floors not claimed to be slip resistant when wet will probably be slippery. Anti-slip additives or textured finishes are needed for wet areas like bathrooms, showers, and wet rooms.
How thick is microcement over tiles?
Typically 2 to 3 mm total thickness across primer, base coats, finishing coats, and sealer. This thin build-up avoids significant height increases that affect doors and fixtures.
Does microcement need sealing?
Yes. Sealing is essential and not optional. It protects against water penetration, staining, and wear. Wet areas need resealing every 2 to 3 years to maintain waterproof protection.